 AlpacaKeep
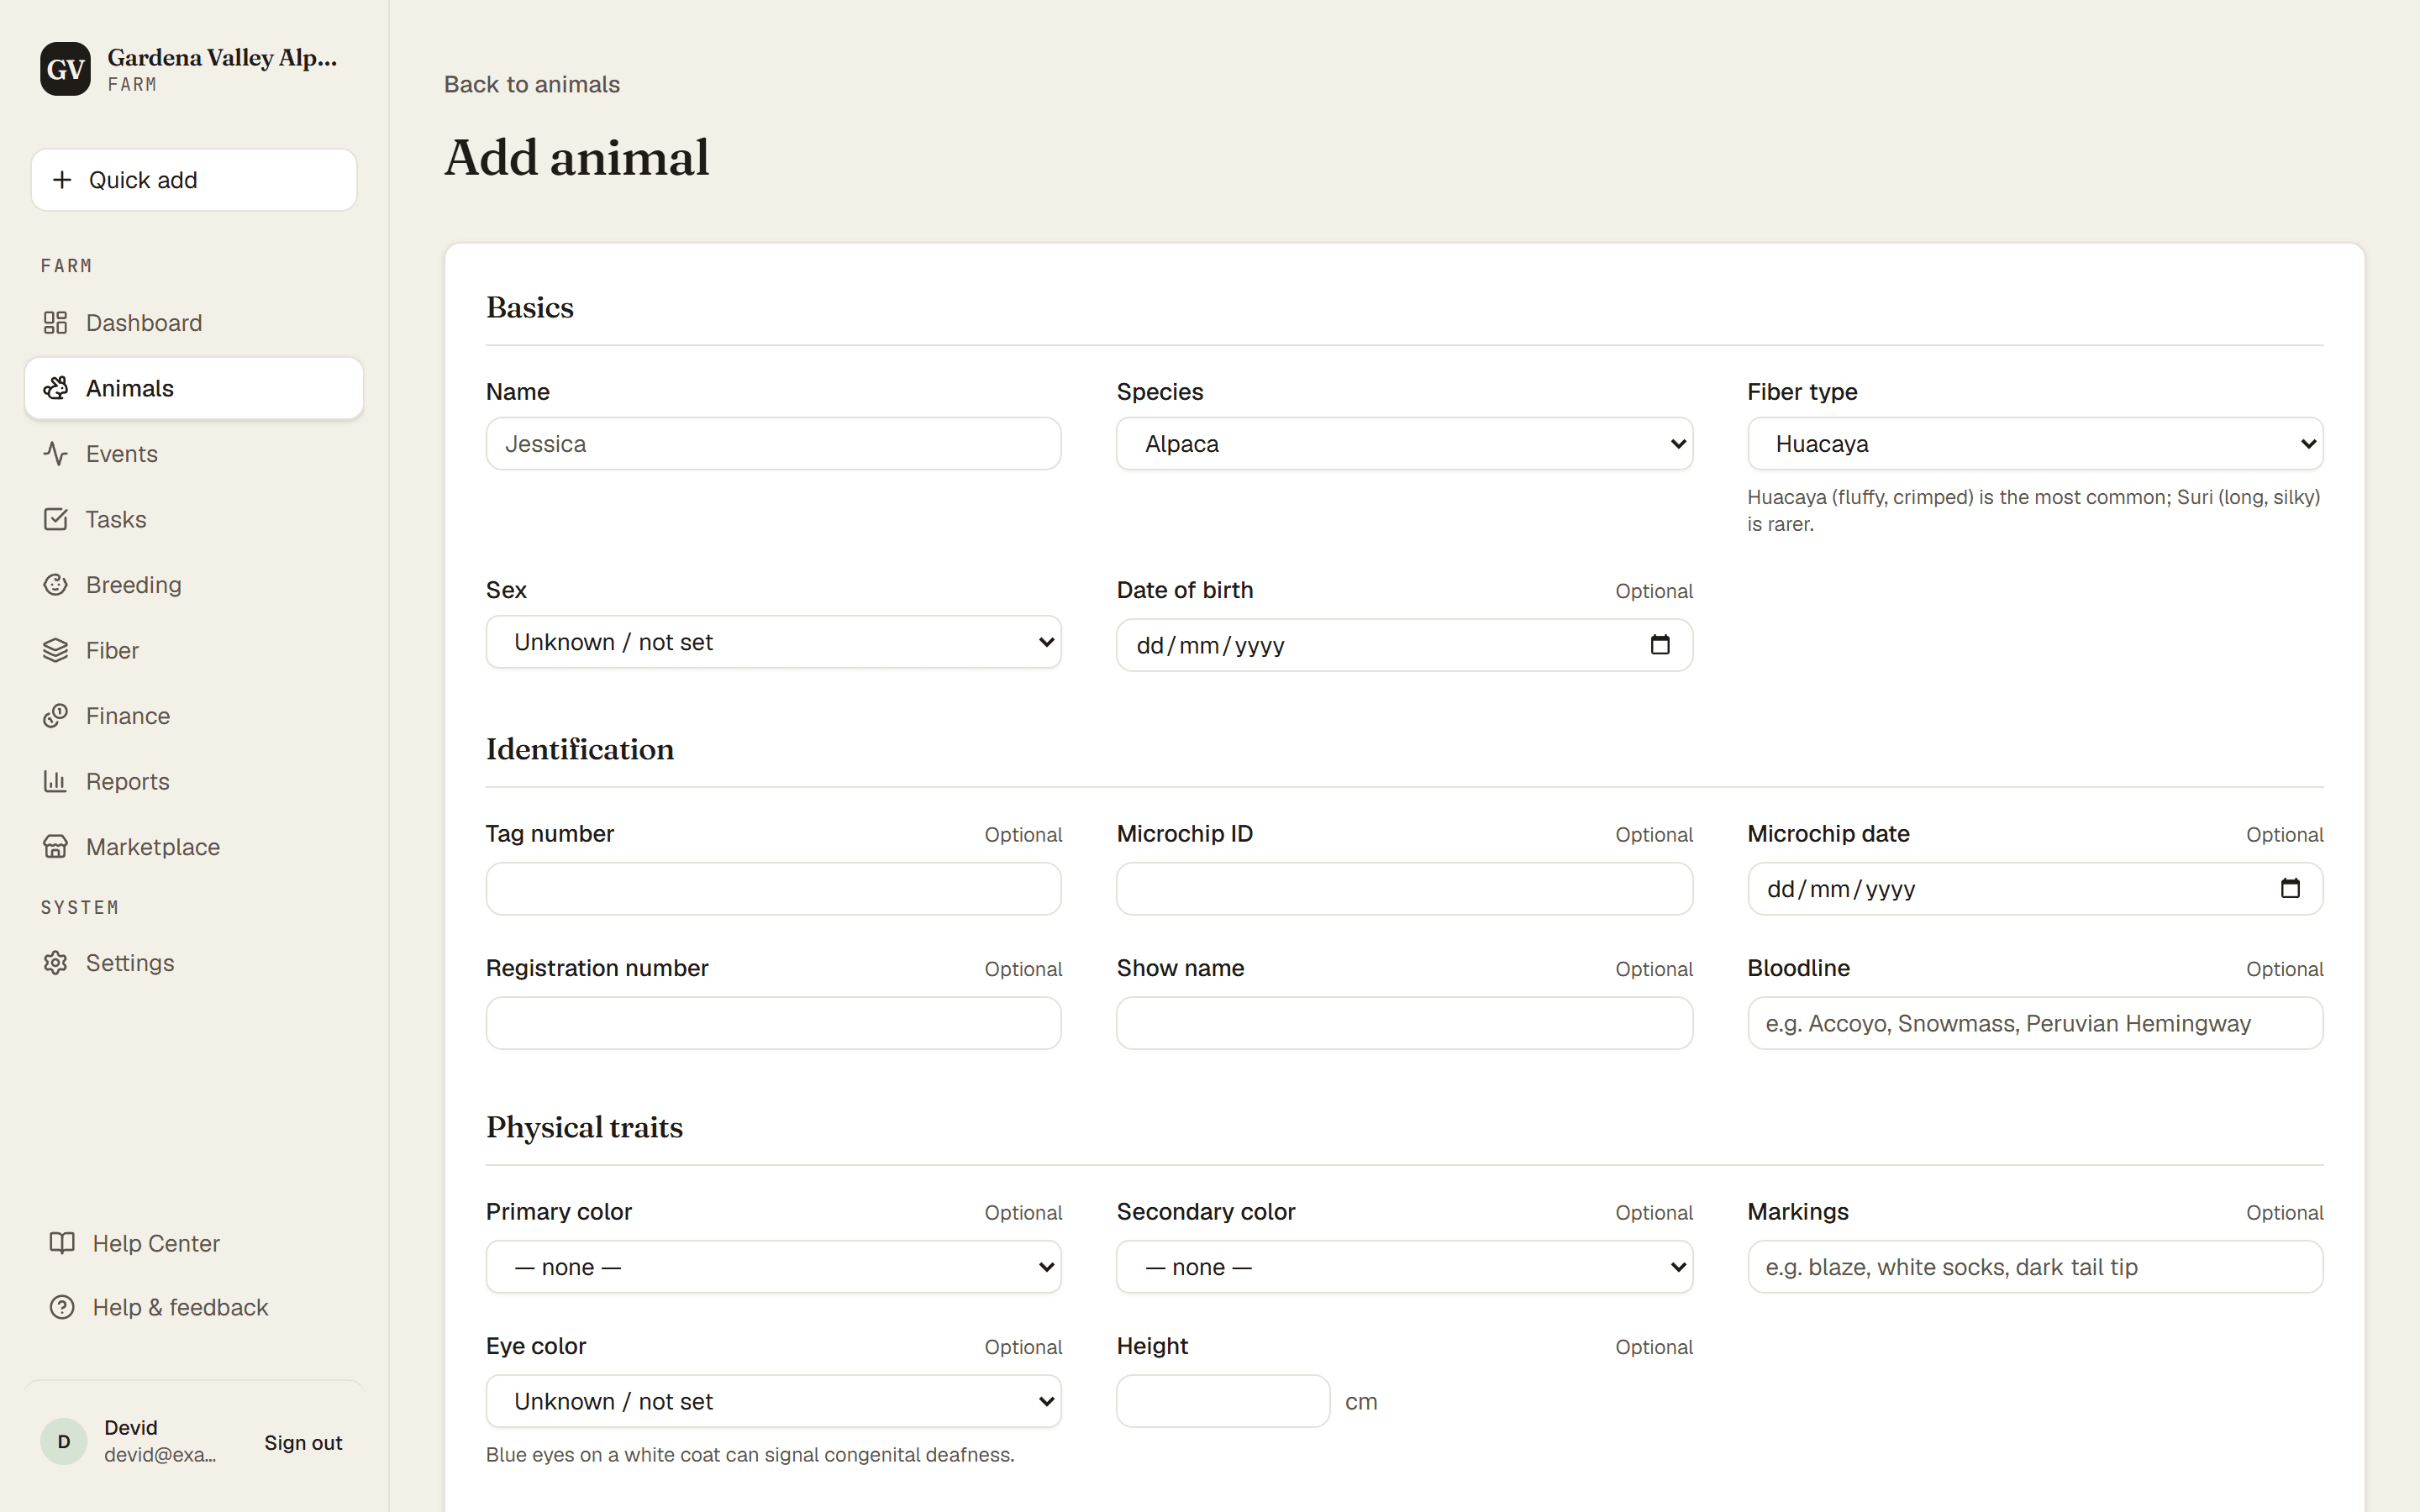
To add an animal, go to Animals and press Add animal. Only the name and species are required. Everything else you can fill in now or add later.
Steps
- Animals → Add animal. This opens the new-animal form.
- Basics. Enter the Name (what you call the animal day to day). Next to it is the Registered name field, which is optional. As you type the Name, AlpacaKeep suggests a registered name using your farm's Name prefix (from Settings → Farm profile) and marks it Suggested until you touch it. Accept the suggestion, edit it to match the papers, or clear it if the animal isn't registered. Then pick the Species (Alpaca, Llama, Guanaco, or Vicuña). If it is an alpaca or llama you can also set the Fiber type (Huacaya or Suri). Add the Sex and Date of birth if you know them.
- Identification (optional). Add the Tag number, Microchip ID, Registration number, or Bloodline. You can skip any of these and add them whenever you like.
- Physical traits (optional). Set the Primary color and any Markings, Eye color, or Height.
- Origin. Choose Bred on my farm or Acquired from another farm. This one matters, see the warning below.
- Save. Press Add animal. The animal opens on its own profile page.
The choice people get wrong: Origin
Origin tells AlpacaKeep where the animal was bred, not who owns it now.
- Bred on my farm tells the app to suggest your farm's Name prefix in the Registered name field. Pick this only for animals born on your farm.
- Acquired from another farm keeps the breeder's name. Pick this for anything you bought, were given, or are boarding.
Watch out. If you mark a purchased animal as "Bred on my farm," the suggestion in the Registered name field is your prefix on an animal you did not breed. When in doubt, pick Acquired from another farm. There is a whole article on this: see Origin: bred here or acquired?
When you pick Acquired from another farm, a Source farm box appears. Choose a saved contact for that farm and the app suggests their breeder prefix in the Registered name field. Type the name in as text instead and no prefix is suggested. You can also set the Date acquired.
Good to know. Purchase price and insured value live in the Finance section of the form and on the animal's Finance tab. Only the Owner and Co-Owner can see them.
After you save
The new animal starts with the status Active. From its profile you can log health events, weights, breeding, fiber, and more across its tabs. To add a parent that is not on your farm yet, see Linking parents.