 AlpacaKeep
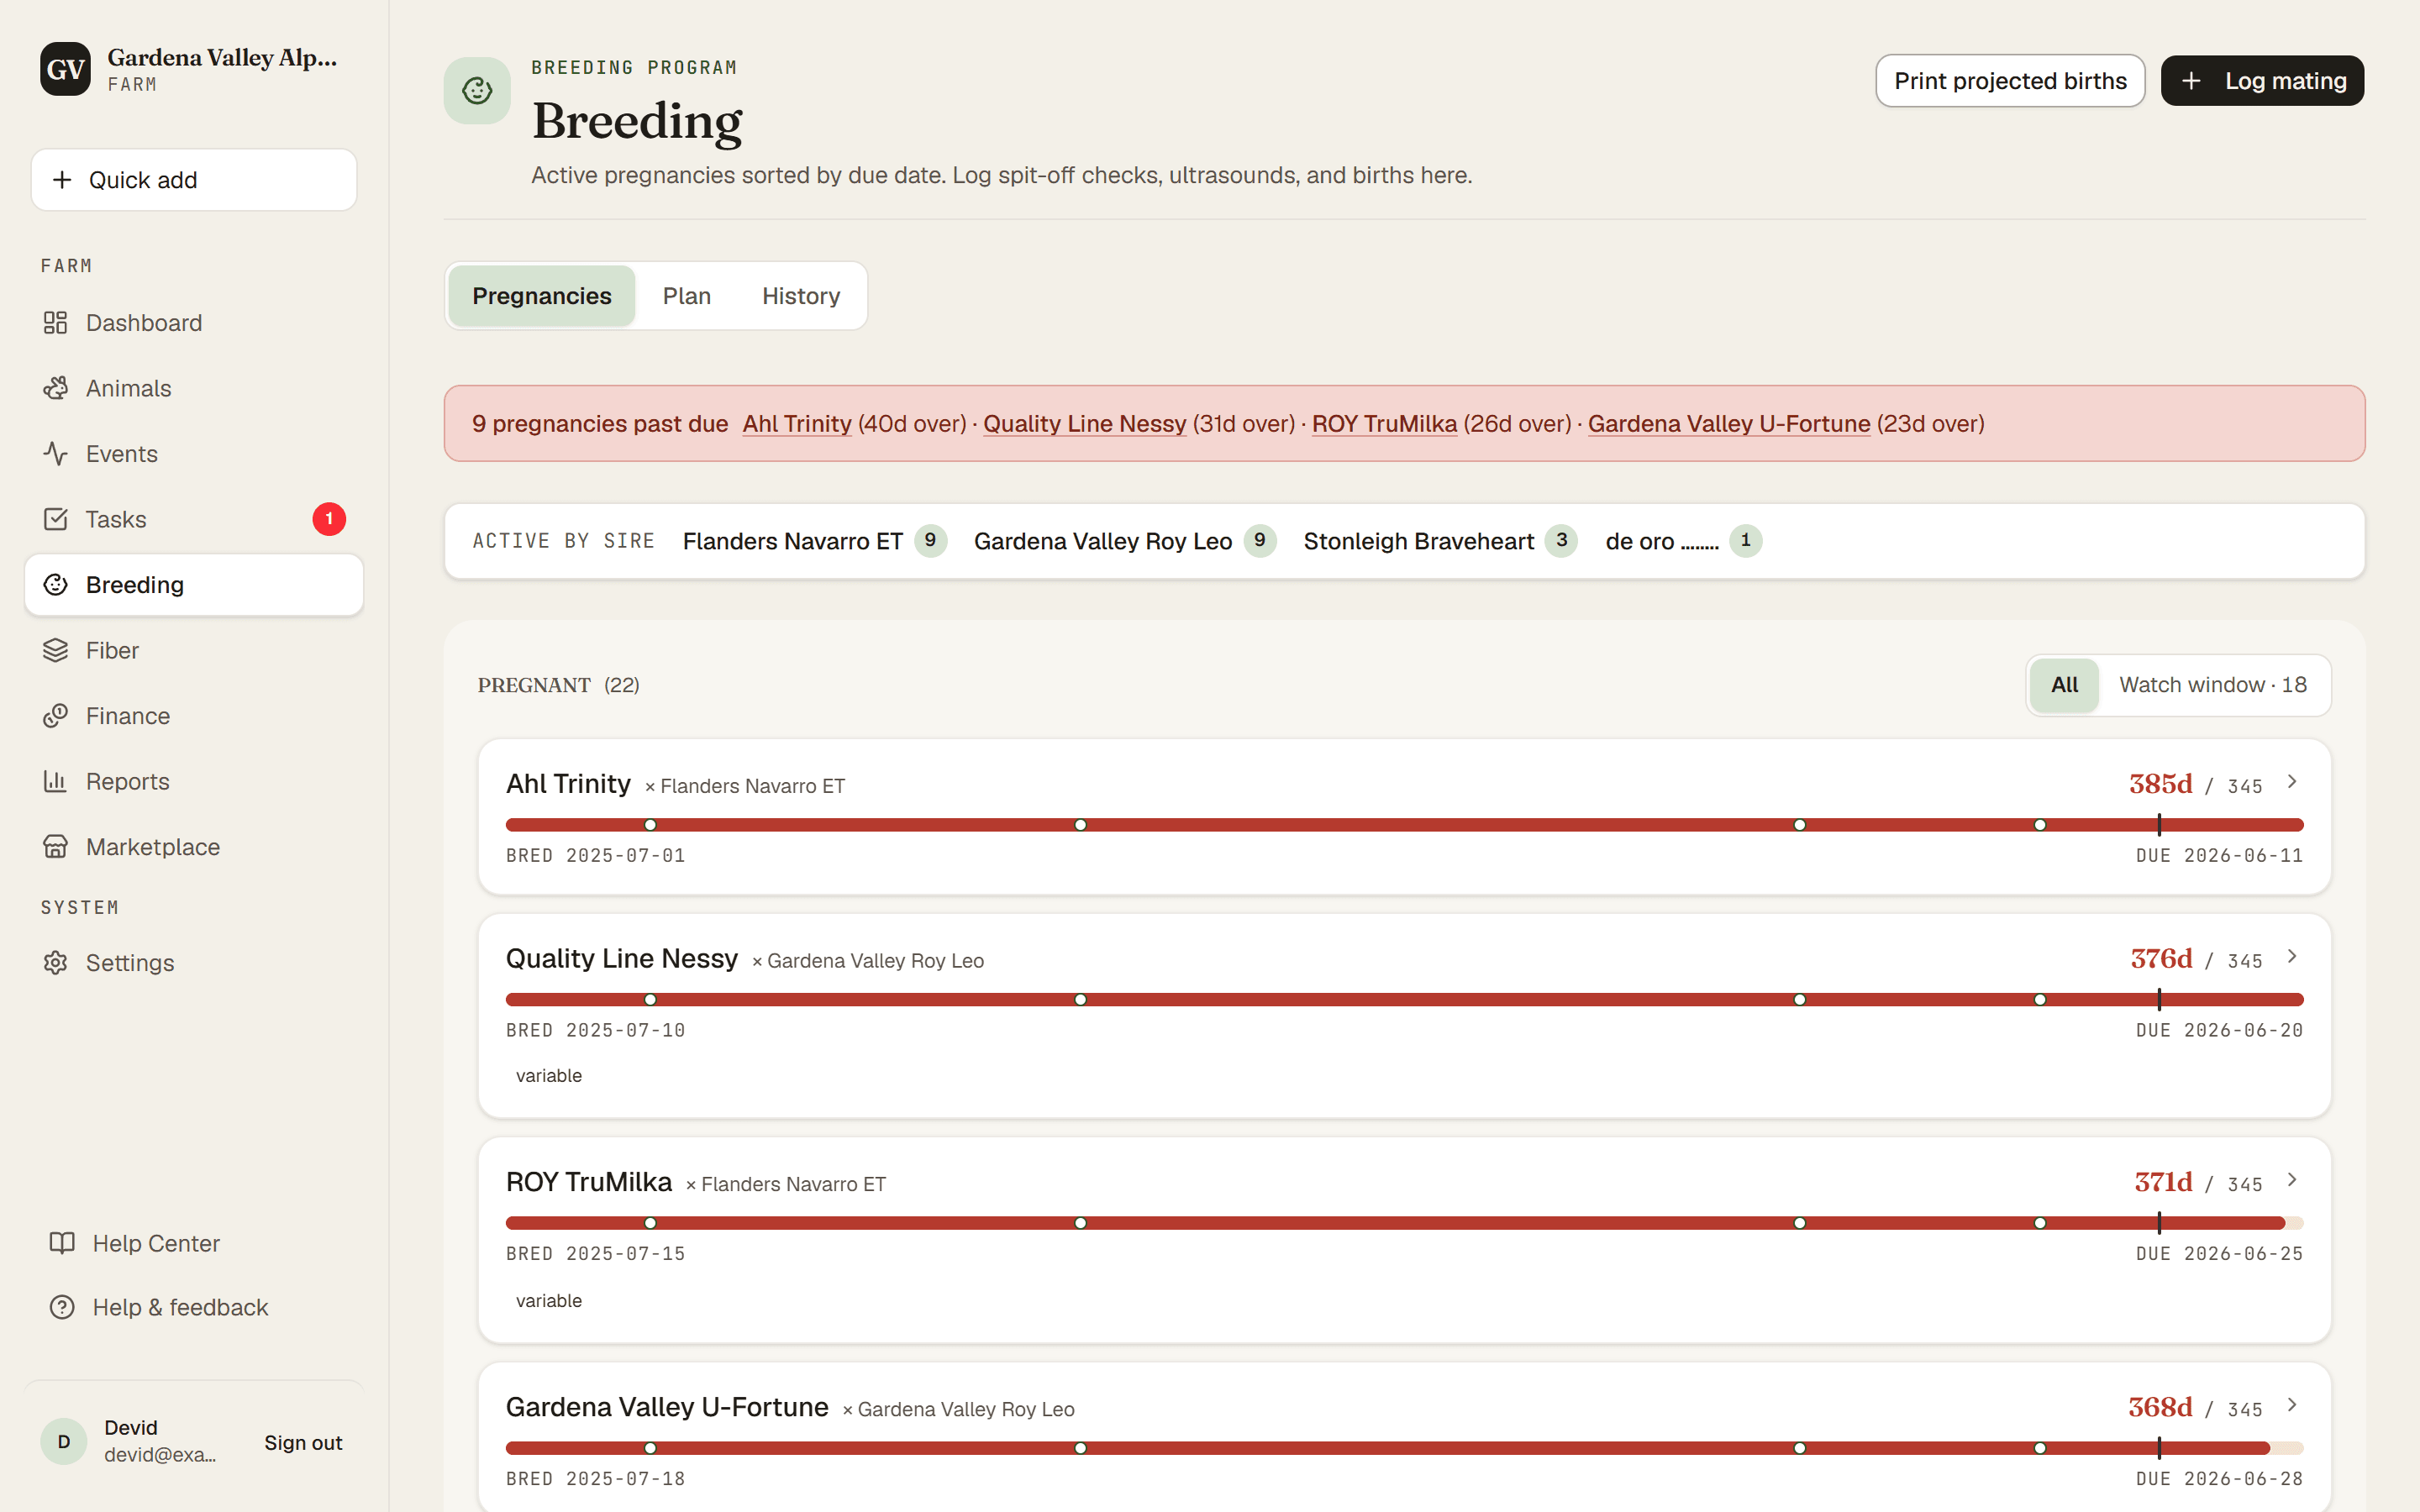
Breeding in AlpacaKeep runs across two screens. The top-level Breeding hub is where you plan pairings, log matings, and confirm pregnancies. Each animal's own Breeding tab is where you see its pedigree and record a birth. This article walks the whole journey in order and points you to the detailed article for each step.
The cycle, step by step
- Plan a pairing. On the Breeding hub, open the Plan tab. Pick a dam (or a sire) and the recommender ranks your on-farm animals, flagging inbreeding and risky color crosses. See The mating recommender.
- Log the mating. On the Breeding hub, press Log mating. Pick the sire, date, method, and one or more dams. See Log a mating.
- It becomes a pregnancy to watch. The mating now shows on the Breeding hub under the Pregnancies tab.
- Confirm the pregnancy. Still on the Pregnancies tab, confirm it with a spit-off check, an ultrasound, or another method. AlpacaKeep works out the expected due date from the species' gestation. See Confirm a pregnancy.
- Record the birth. When the cria arrives, go to the dam's profile, open her Breeding tab, and press Record birth. See Record a birth.
- The cria gets its pedigree. Recording the birth creates the cria as a new animal, linked to its dam and sire, so its pedigree tree is ready from day one.
Good to know. Closed and archived records, plus a timeline of past crias, live on the History tab of the Breeding hub.